 by
by If you’ve got files and folders you’d like to share across a closed network, you can enable this from the System Preferences in OS X. Read on to learn how to set this up.
1. Turn On Sharing
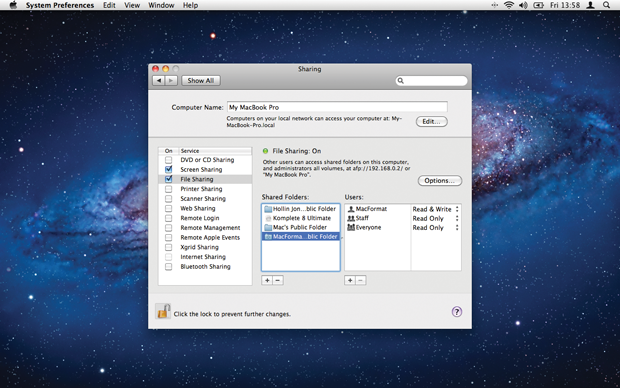
Go into the Sharing section of System Preferences. Locate the File Sharing option in the list of services and select its checkbox to make sure it’s switched on. You can give the computer a unique name in the box at the top–this is what will be broadcast across your network.
2. Add Extra Folders

Click the plus button underneath the list of shared folders and you can choose any folder that you own to share with other users. By default, your Public Folder is shared and users will be able to place things in the Drop Box. To create more shared folders, add them here.
3. Set a Password

In the list of users to the right, click the plus button to add a new user. If you select an Address Book entry, you can set a password for that user and create an account on the local machine for them. With this information, they’ll be able to access your shared folders.