The default solution for installing OS X Mavericks is to download it free from the App Store and then perform an upgrade from a previous version of Mac OS X, whether that’s from Mountain Lion or Snow Leopard. Upgrades are fast, efficient, and most important, very easy, and that’s the recommended option for the vast majority of Mac users. Nonetheless, some users may want to start fresh with a blank slate, using what’s known as a “clean install” and that’s what we’re going to cover here. Performing a clean install can be desirable for a variety of reasons, from ditching years of built-up cruft on older Macs from many years of OS X upgrades, to troubleshooting difficult issues, to transferring ownership of a Mac to a new owner.

The process of a clean install is not difficult if you follow these instructions, but because it involves formatting the Macs hard drive, it can result in extra work. Since the Mac will start with a clean slate, all apps must be downloaded and installed again, important documents and personal data must be manually transferred back over from backups, and system settings must be customized again. This typically makes it more appropriate for advanced users or for select situations (like selling a Mac), and thus it should not be considered a standard upgrade path to get to OS X 10.9 Mavericks.
Warning: Performing a format and clean install of OS X will erase the Macs hard drive and all contents on the drive will be removed. All files, applications, documents, photos, customizations, everything on the computer will be lost in this process. Understand this and know what you are doing, and why, to prevent data loss of critical files. We can not reiterate this enough.
How to Format & Clean Install OS X Mavericks on a Mac
You will need a bootable OS X 10.9 installer drive to accomplish a clean Mavericks install using this method. You can learn how to easily create one here if you haven’t done so yet.
Back up the Mac first with Time Machine or by manually backing up your important data – do not skip this step or else you will not be able to recover files
Connect the bootable OS X Mavericks installer drive to the Mac and reboot the computer
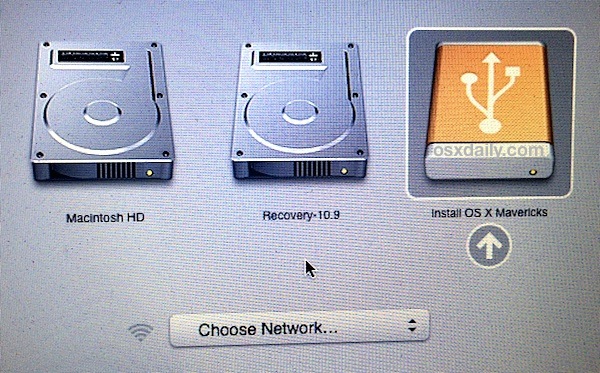
Hold down the OPTION key during boot until you see the boot selector menu, then choose “Install OS X Mavericks”
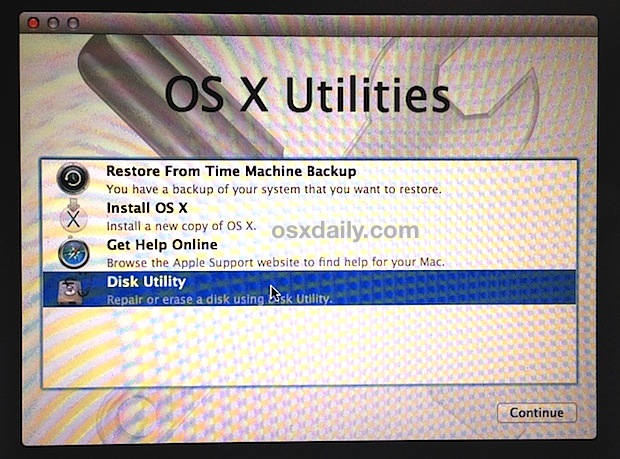
At the “OS X Utilities” screen, choose “Disk Utility”
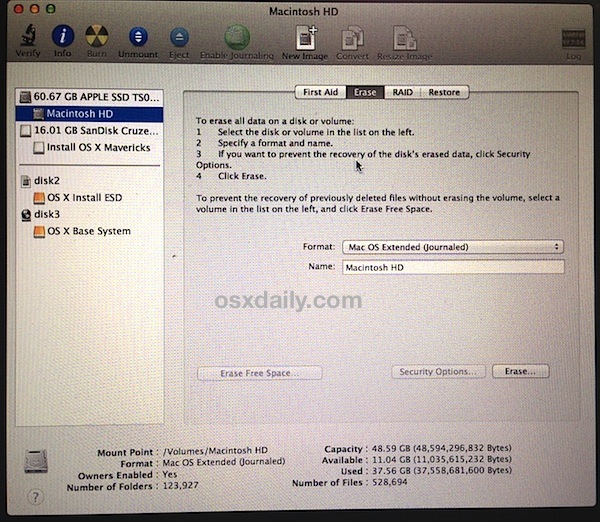
Select the hard drive or partition to format from the left menu, then choose the “Erase” tab
Select format type “Mac OS Extended (Journaled)”, give it a logical name (like Macintosh HD), and choose “Erase”, confirm to erase at the next screen
When finished erasing the disk, quit out of Disk Utility to return to the normal boot menu
From the “OS X Utilities” menu, now choose “Install OS X”, click “Continue” and agree to the terms of service, and select the freshly formatted “Macintosh HD” drive to begin the clean install process
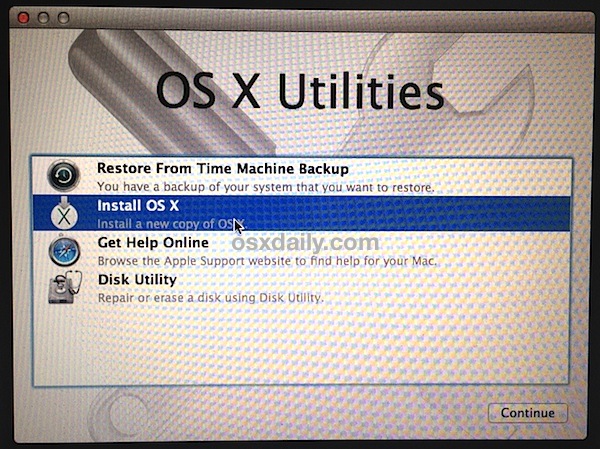
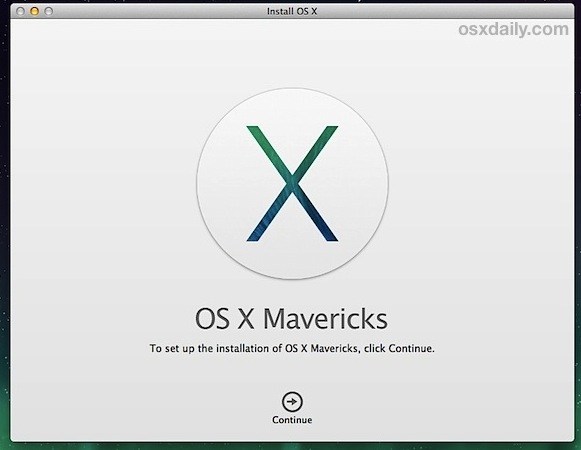
(Excuse the unusual picture quality, some images taken with an iPhone 5 during the boot install process where screen shots are not allowed)
A clean installation of OS X Mavericks takes about 35-45 minutes to complete, depending on the speed of the install drive and the volume OS X is being installed onto. When Mavericks is finished installing, the Mac will reboot itself automatically and go through the initial setup process for OS X Mavericks. Register, create a user login, set the Apple ID and iCloud details, and you’re all done. You’ll boot directly to a very blank OS X installation, similar to the experience of getting a brand new Mac.
A fresh OS X installation is very bare with just about nothing included outside of the core system and basic Mac apps (intentionally so), thus any custom applications or apps you had previously downloaded from the web or App Store will need to be downloaded and installed again. For apps from the Mac App Store, that’s fairly easy, but for third party apps you will need to access them independently through the developers.
If you are keeping the Mac yourself, you will probably want to transfer your old data, documents, photos, and files back onto the Mac. This is a good time to access Time Machine to selectively restore certain files, or access backups made to network drives, DropBox, CrashPlan, external backup drives, USB flash disks, whatever your preferred backup method is and from where ever stored your data.
If you’re new to Mavericks, don’t miss these simple tips to get you started with some of the great new features.